I’ll admit it, I’m a sucker for Thinkpad laptops. I’ve used the Thinkpad-series laptops since ~20 years or so (when IBM still owned the brand and manufactured them). They are high quality, they are easy to upgrade, they are maintainable, and they just got that “Engineer”-type of look over them. Most parts in a Thinkpad are replaceable, and that’s just one of the reasons why people have them for so long time. This is in contrast to other manufacturers which in most cases require you to send the computer in to a licensed repair-shop (no names mentioned, but one example starts with an A and ends with an E, and has PPL in between). The Thinkpad laptops are simply for people that want to get shit done. That’s why I’m not surprised that you almost never see Thinkpads in trendy cafeterias, but instead where people do actual work.

This is not a trendy cafeteria.
This is the international space station.
Yes, all of those are Thinkpads.
Image source: Wirefresh.
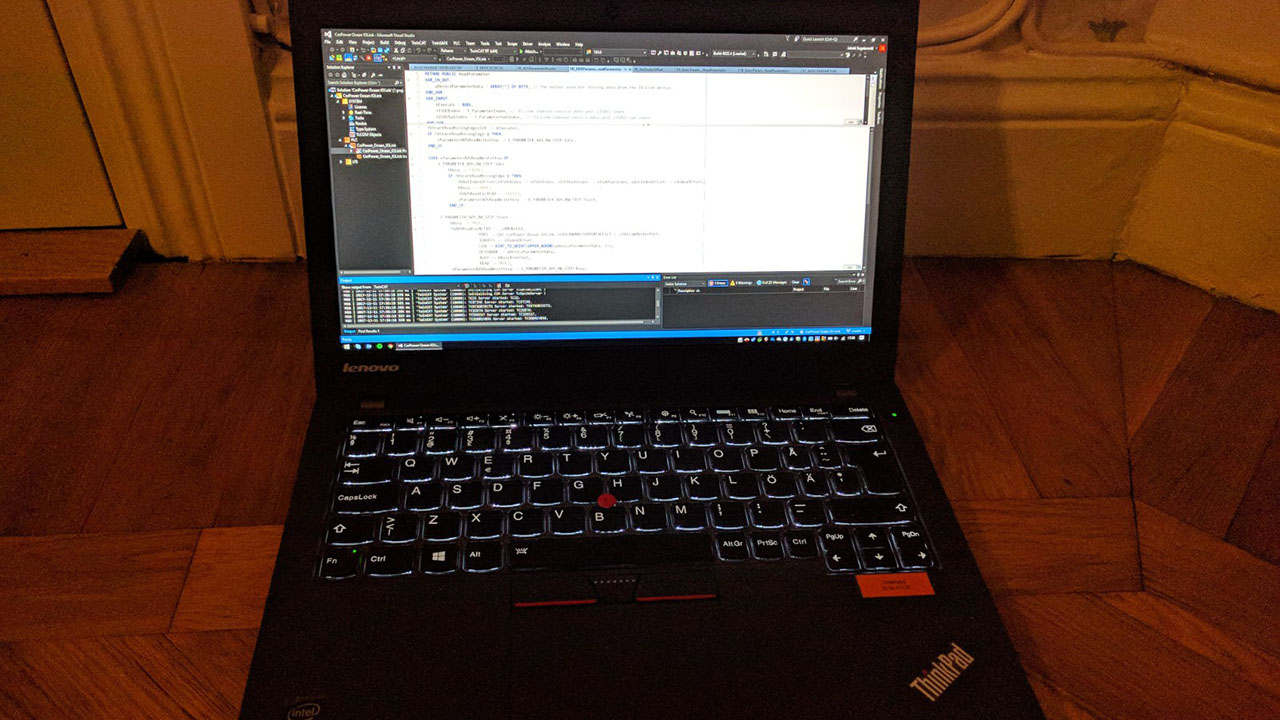
My current laptop I do most of my work/development on is a Lenovo Thinkpad X250. It’s one of their smallest laptops with a 12.5" screen, it’s really thin but still just thick enough to host a standard RJ45 network interface controller which is a hard requirement for me working in the industry. The portability and low weight (~1.3kg) coupled with good performance (Core i7, SSD) and extensive I/O just makes it next to perfect. I’ve had this laptop since the release (2015), and it’s awesome. However, there are two things with my model that are not optimal.
First, although the screen is very good in terms of contrast, viewing angles and colours (IPS-panel), the resolution is only 1366 x 768 pixels (HD). This usually doesn’t matter for me as I most of my time have it attached to a dock which in turn is connected to two high-resolution 27" monitors. However, lately I’ve been traveling, and then an HD-screen just doesn’t cut it. It might be good for reading e-mails or writing a document or two. But doing software development on a low-res screen…not so much. Second, it’s only got 8GB of RAM. Again, for most applications this is fine. But if you’re in the middle of a TwinCAT development project it’s not unusual that you’re simultaneously running:
- Four instances of Visual Studio
- Compilation of a library
- Run of a TwinCAT project locally
- Two running virtual machines, each one consuming 1GB of memory
- 30 Chrome tabs
- Spotify
- Remote desktop window to a PLC
- SSH connections to all over the world
All of those applications happily chew all of the memory for breakfast, and when the computer is out of RAM it starts to do swapping on the hard drive, which results in that the otherwise speedy and happy Thinkpad just feels sad and tired: “Jakob… please… give me more RAM… I can’t stand this any longer!”. Something needed to be done.
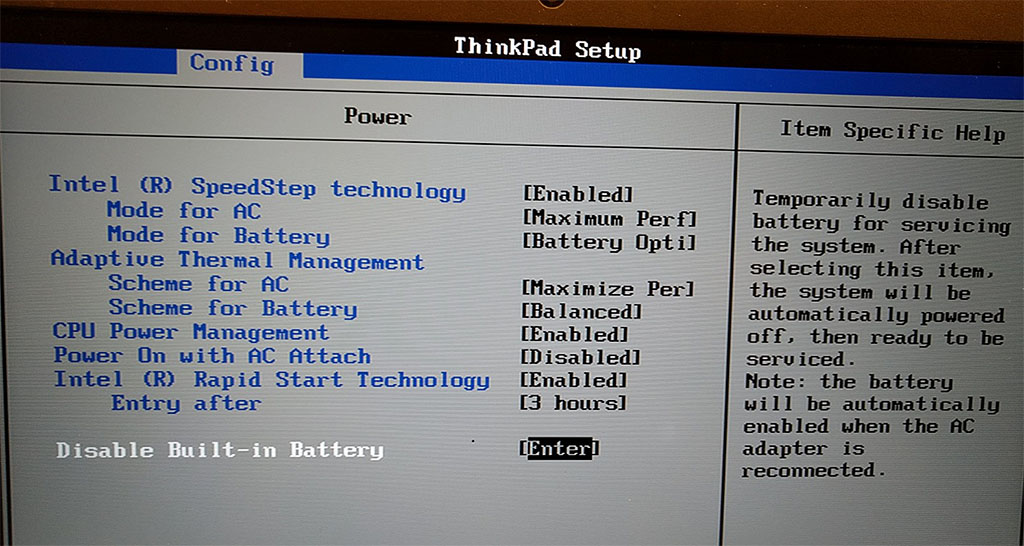
First, the RAM-upgrade. Unfortunately the X250 only has one RAM-slot, so I couldn’t just go out and buy another 8GB stick and put it in. I needed to buy a 16GB stick and replace the 8GB with it. Some sources on forums said that the X250 only supported 8GB, whilst other said that 16GB was working fine with references to different RAM-models that would do it. I decided to upgrade the BIOS to the latest version and buy one 16GB module that a few other had had success with, more specifically Crucial CT204864BF160B. Because the X250 (in its greatness) has dual batteries (one built-in internal and one external), you need to enter the BIOS to fully power off the system. In this way the only way to power it on again is by connection an AC-adapter to it.
All parts are easily replaceable, in the X250 case you need to unscrew 8 screws on the bottom and then remove the whole bottom plate. This is easiest to do by sticking in a card between the bottom plate and the rest of the computer and wobble it.
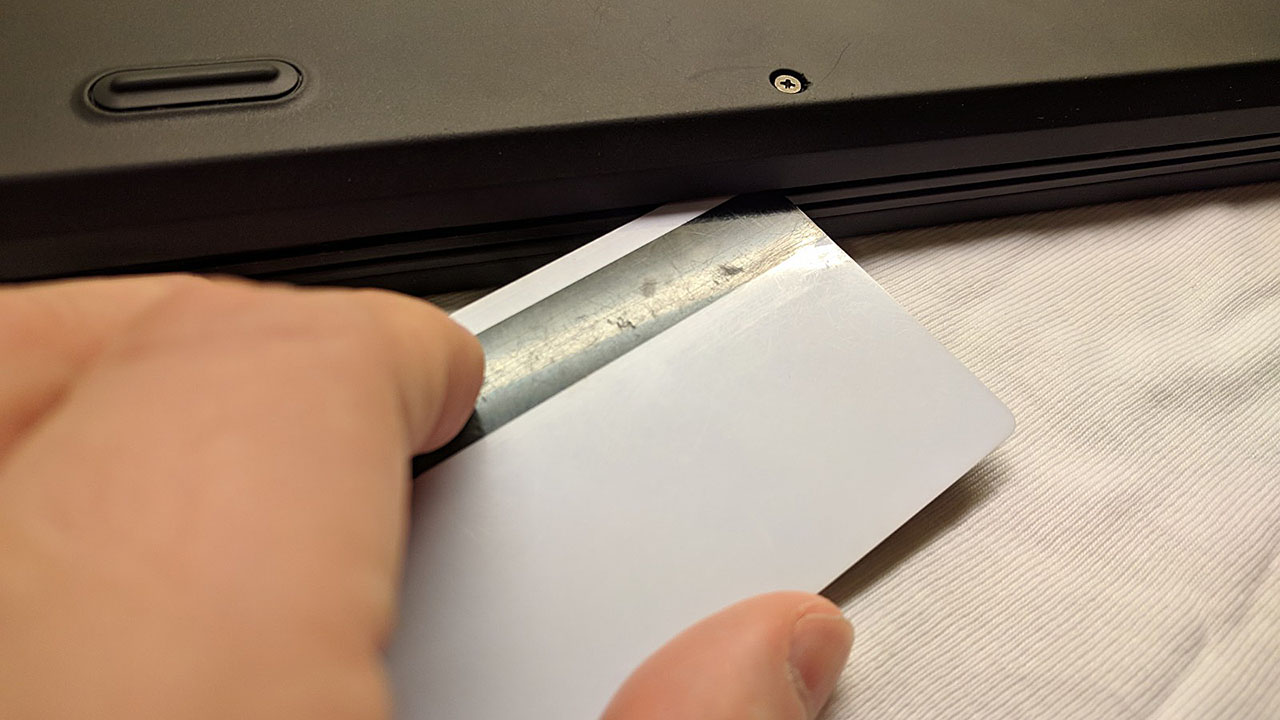
Remove the bottom plate and you have full access to all the internals. Locating and replacing the RAM was easy and the complete process took five minutes.

Now the slightly trickier part…the screen. I remember that the X250 was available with a full-hd (FHD, 1920 x 1080) panel when I bought mine, and because almost every single component in a Thinkpad is a field replaceable unit (FRU), I assumed that it was possible to source just the panel. And because a Thinkpad is a Thinkpad, I also assumed that it would be easy to replace the panel. Now that I’m finished with the replacement I can happily say that yes it’s possible to replace the panel and yes it’s easy. Doing some old classical forum-research, I’ve found several FRUs that work. I wanted the exact same type of panel but only with higher resolution, i.e. I still wanted it to be IPS and “Matte/ Non-Reflective Surface” type. I settled for a model named “LP125WF2-SPB2”, which I’ve read others have had success with. Best thing was that I could find it on Ebay for 70€ incl. shipping from an UK seller, which is really cheap and I got it just a few days after ordering.
First off, I needed to remove the bezel around the panel. Again, the card to our rescue. Just put it in and wobble back and forth in different locations of the bezel.

There are some very small plastic clips holding the bezel to the rest of the screen. Be very gentle with the wobbling so that you don’t break them! There is really almost no force required to make them release from the screen. Once the bezel is removed, you need to disconnect the connector for the screen. Just remove the tape and unlock the “hinge”.
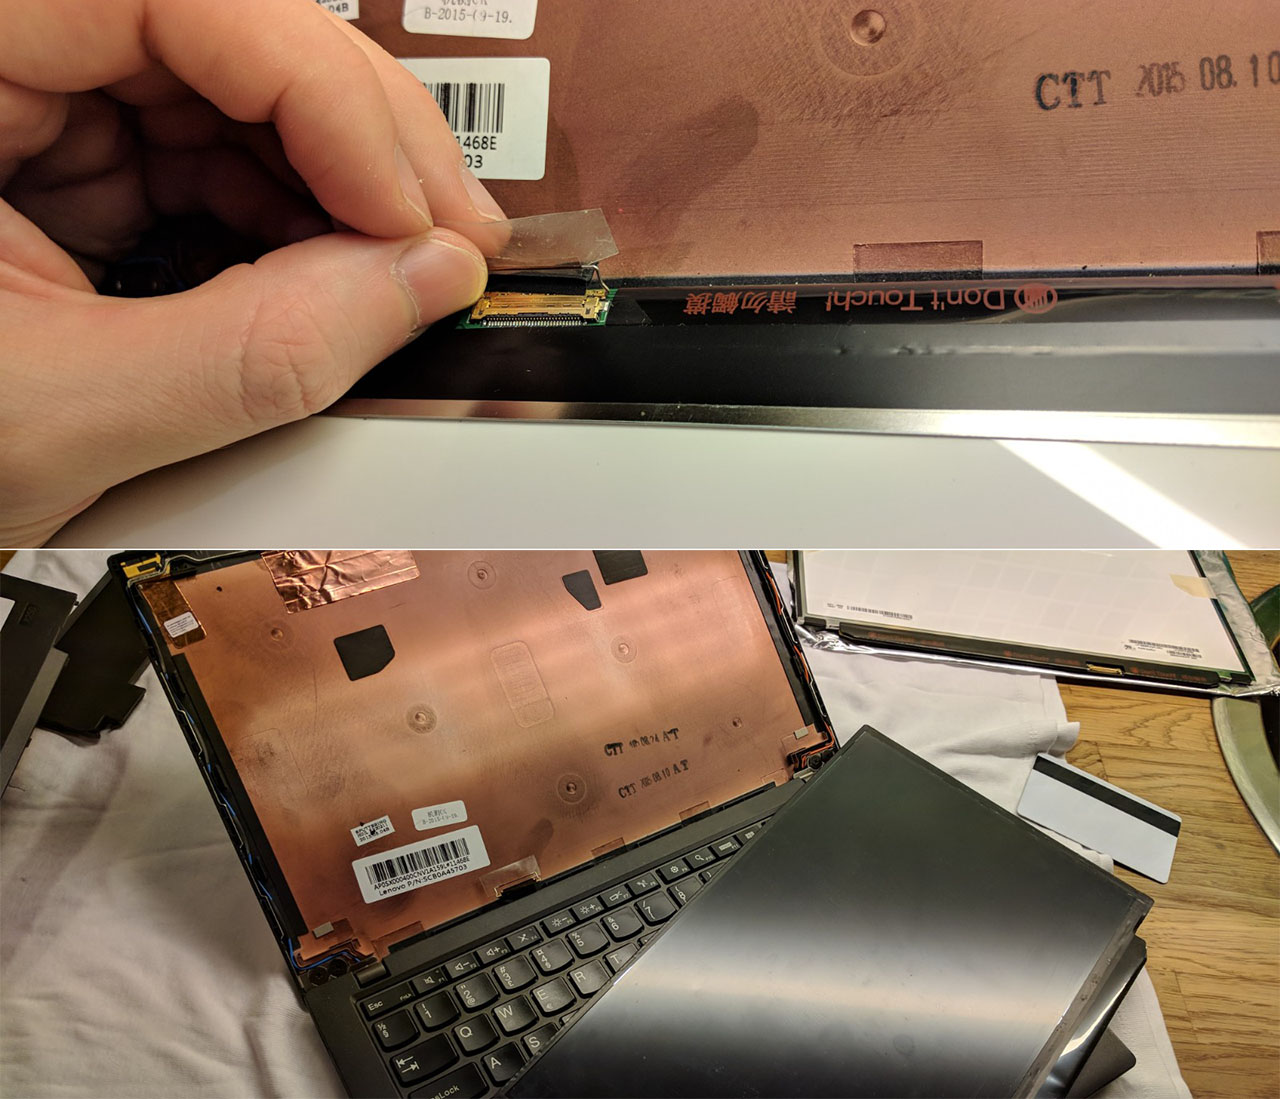
Now remove the screen, and put the new one in. I connected the connector for the panel, made sure that the “hinge” clicked, and added some electrical tape over it. Before putting the bezel back, I quickly powered the computer ON and tested whether it was working. Voila!
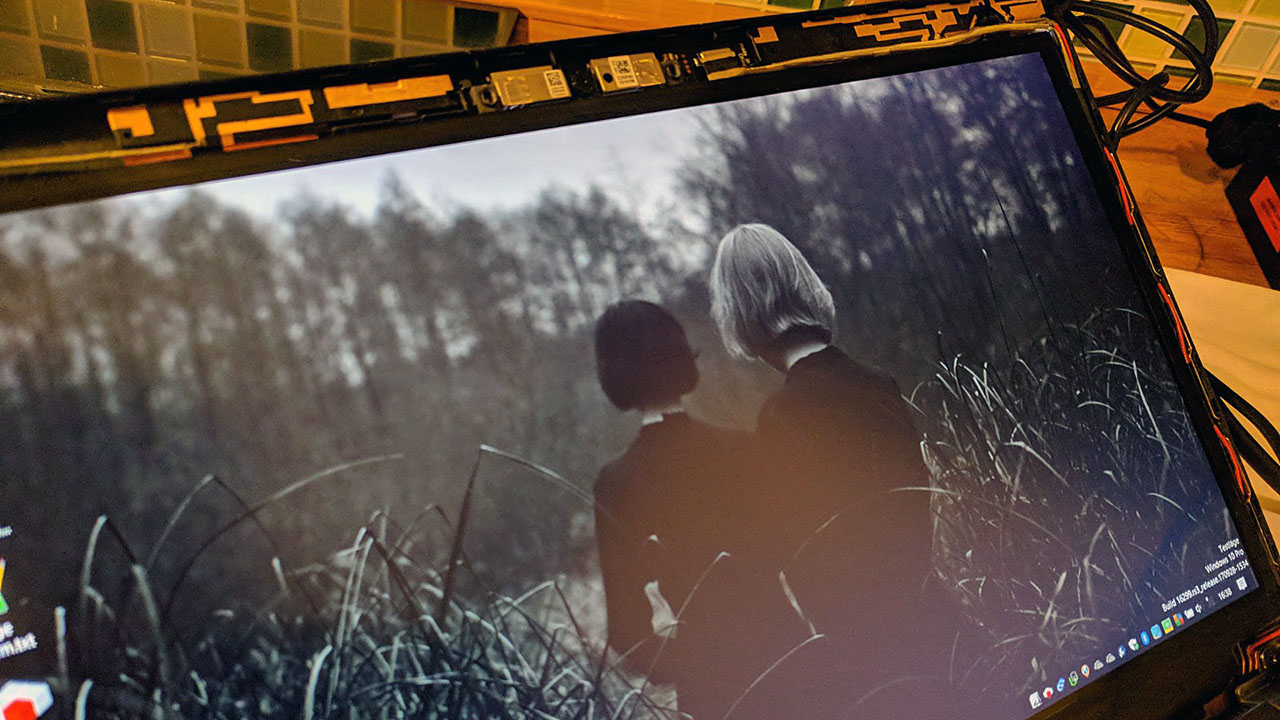
Put the bezel back on (again, be careful… the plastic parts holding it together are fragile), and be happy that you made a computer that is 95%-perfect into a computer that is 100%-perfect! The total time I spent on replacement of both the RAM and panel was less than 30 minutes. Now that I’m writing this with the new screen I can say that it’s definitely worth it.